Icon Image Creator: Create Stunning Custom Icons Easily
Learn how an icon image creator can help you generate custom icons quickly. Discover tips for using AI to craft perfect icons for your projects.
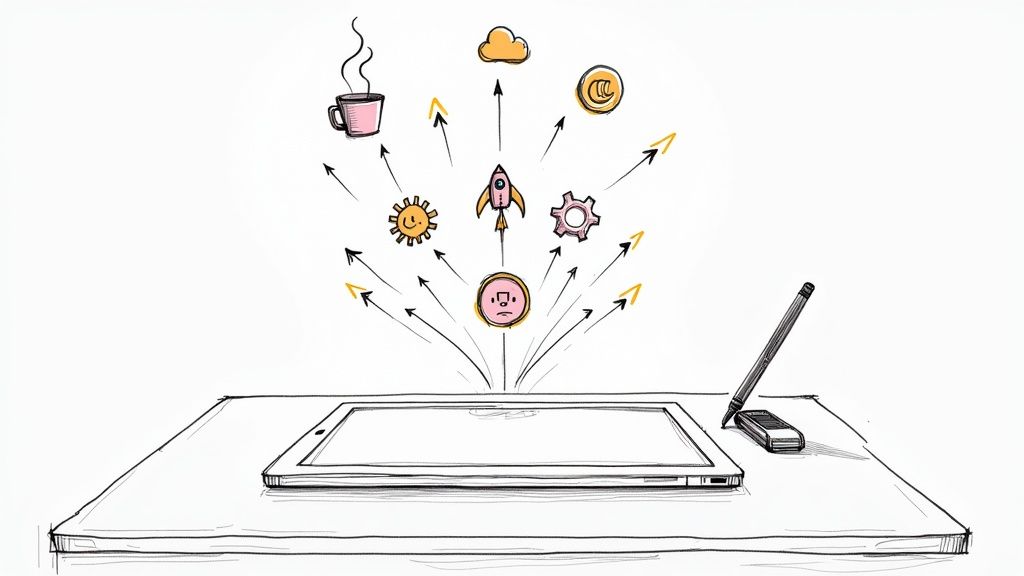
Finding the right icon can feel like a hunt for a needle in a haystack. You scroll through endless stock libraries, only to settle for something that’s almost right but not quite. That's the old way. Today, an AI-powered icon image creator changes the entire game.
Think of it less as a library and more as an on-demand artist. Instead of picking from a pre-made collection, you describe what you need, and the AI generates completely new, custom icons just for you.
Why This Is a Game Changer for Designers and Brands
Let's be real—generic icons water down your brand. An AI tool for creating icons flips the script, moving from a static, one-size-fits-all approach to something dynamic and deeply personalized.
I've seen startups use this to build a whole suite of app icons that perfectly reflect their unique branding, from the exact hex codes to the quirky style they were after. Marketers, too, can whip up visuals for a campaign in minutes, not hours. This isn't just a possibility anymore; it's a practical, everyday workflow.
The Real-World Benefits
When you get down to it, the advantages of using an AI icon generator really hit home in a few key areas that boost both your efficiency and brand's visual identity.
- Blazing-Fast Speed: You can get dozens of icon concepts back in the time it used to take just to browse a single page of a stock library. This is a massive time-saver for designers, developers, and content creators.
- Insanely Deep Customization: We're not just talking about changing the color. You can dictate the artistic style, the thickness of the lines, and tiny details to make sure every single icon feels like it belongs to your brand.
- Genuinely Unique Visuals: Stop using the same icons as your competitors. You can create visuals that are 100% original to your project, which is a huge advantage in a crowded market.
The real magic of an AI icon creator is how it bridges the gap between your creative idea and the finished product. It gives you the power to make exactly what you envision, right when you need it, without having to compromise.
This move toward smarter design tools is backed by some serious numbers. The market for digital illustration apps, which includes these creators, was valued around USD 425.8 million in 2023 and is on track to hit USD 1,370.5 million by 2035, according to data from Future Market Insights.
Knowing how to use icons strategically can make these tools even more powerful. You can dive deeper into this with our guide on the use of icons.
Crafting Prompts That Generate Perfect Icons
The secret to getting stunning results from an AI icon creator isn't a secret at all—it all comes down to the quality of your prompt. Think of yourself as a director and the AI as your design team. Vague instructions lead to confused results, but a clear, detailed brief gets you exactly what you envisioned. The real skill is learning to translate a simple idea into a rich description.
Merely asking for a "coffee icon" will get you something generic. But what if you need something specific for a new coffee shop's mobile app? That's where the details matter.
A prompt like "minimalist line art icon of a steaming coffee cup, navy blue on a white background" is a game-changer. It gives the AI specific directions on the style (minimalist line art), the subject and its state (steaming coffee cup), and the exact color scheme. This level of detail is the difference between a throwaway graphic and a professional, on-brand icon.
Mastering the Prompt Anatomy
To create amazing icons every single time, I've found it helps to think about the prompt in a structured way. Before I even start typing, I mentally break down my request into a few core components.
- Subject: What’s the main focus? Get specific. "Car" is okay, but "side profile of a vintage sports car" is much better.
- Style: What's the aesthetic? Try terms like "flat design," "3D clay," "pixel art," or "hand-drawn sketch."
- Color Palette: Don't leave color up to the AI. You can specify your brand's HEX codes or use descriptive phrases like "warm earth tones" or "vibrant neon colors."
- Composition: How should the icon be oriented? Consider if you need a "front view," an "isometric perspective," or a "top-down view."
This approach helps organize your creative thoughts and ensures the AI has everything it needs to nail the design.
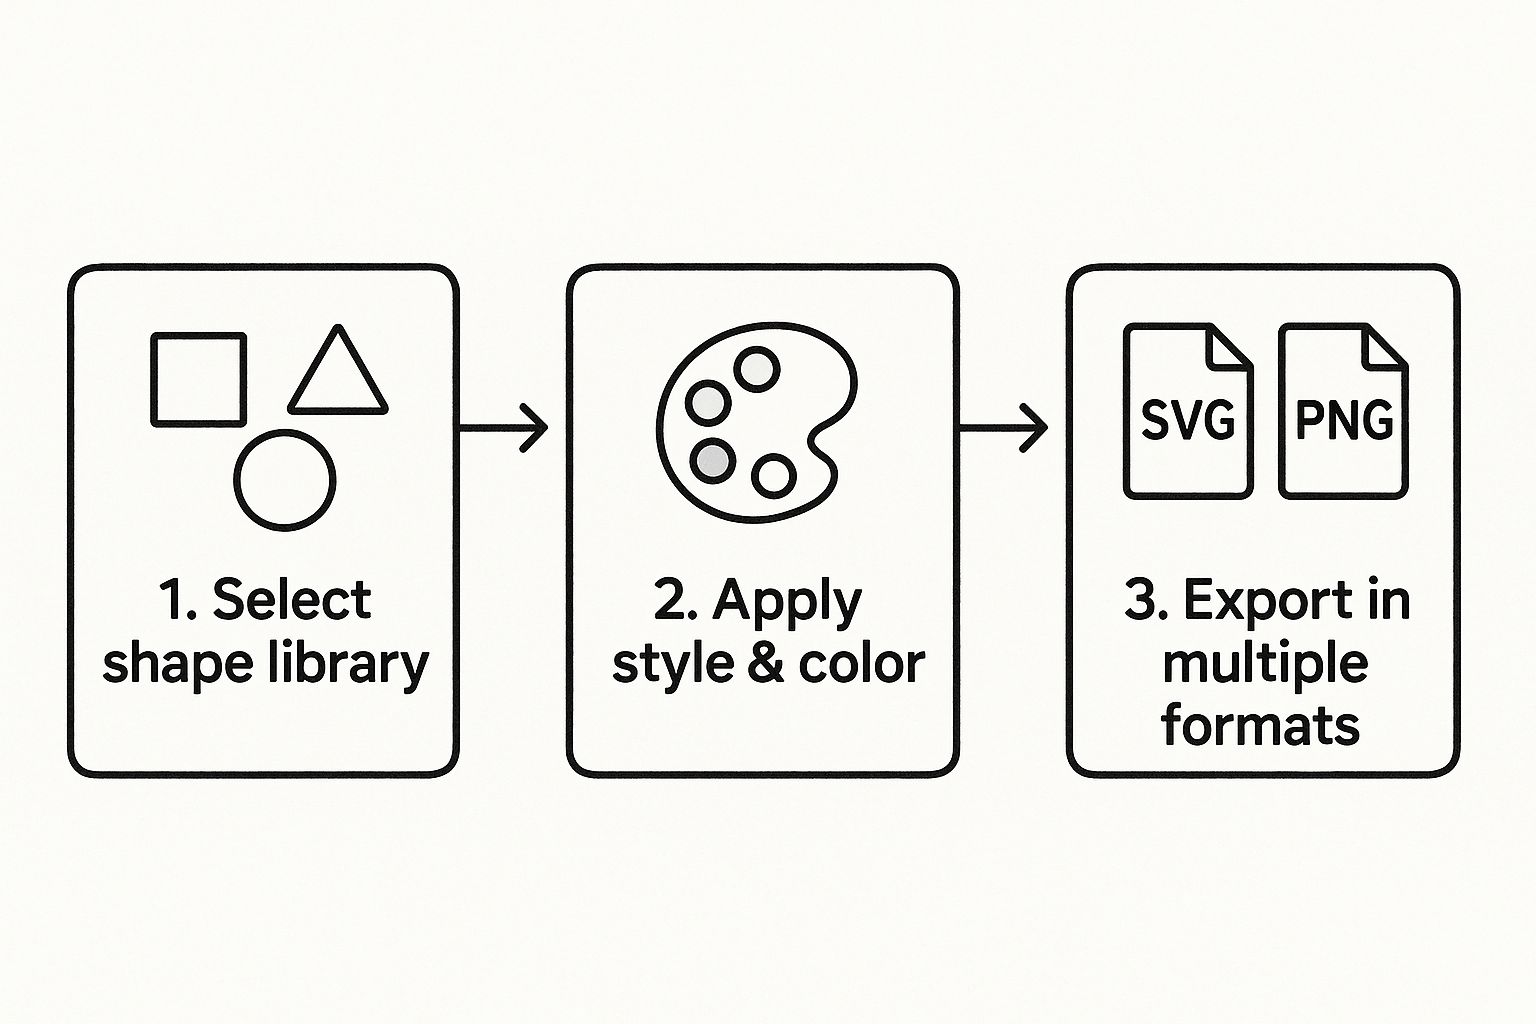
The image above really captures how a great icon creator translates your inputs—from shapes and styles to final assets—into something you can download and use immediately.
Effective Prompting Techniques for Diverse Icon Styles
To show you just how much of a difference specificity makes, let's look at a few examples. The table below compares simple, one-word prompts against more detailed versions and what you can expect from each.
| Desired Icon Style | Simple Prompt Example | Detailed Prompt Example | Expected Outcome |
|---|---|---|---|
| Minimalist | gear |
Minimalist line art icon of a single gear, thin black lines, isolated on a white background |
A clean, simple outline of a gear, perfect for a settings menu. |
| 3D Render | house |
3D claymation style icon of a small cozy house, soft lighting, pastel colors, isometric view |
A charming, tactile-looking house with depth and a friendly feel. |
| Retro | rocket |
8-bit pixel art of a cartoon rocket ship launching, with trailing flames, retro video game style |
A nostalgic, blocky rocket icon reminiscent of classic arcade games. |
| Corporate | chart |
Flat design icon of a rising bar chart, professional blue and gray color scheme, clean and modern |
A sharp, professional graphic suitable for business presentations or financial apps. |
As you can see, the detail in the prompt directly shapes the personality and utility of the final icon.
Many tools, including VibeIcons, also offer helpful style presets like ‘Flat’ or ‘3D’ to give you a head start. I often find it's best to select a preset that’s close to my goal and then layer in my own detailed text prompt to refine it. This hybrid approach gives you fantastic control, making the creative process both fast and rewarding.
Refining Your AI-Generated Icons
Getting a great first draft from an AI icon creator is a fantastic starting point, but the real magic happens when you start refining it. This is where you take a solid concept and polish it into a professional, on-brand asset. The best tools give you the creative control to get your designs just right.
Let's say you’re working on an icon set for a new tech startup. The AI gives you a great "rocket ship" icon, but the colors and style don't quite sync up with the brand guide. This happens all the time, and it's an easy fix.
This is where precise adjustments are absolutely essential. Instead of just accepting a generic blue, you can plug in your brand’s exact HEX code—like #4A90E2—to ensure the color is perfectly consistent with everything else you've designed. It’s a small change that instantly makes the icon feel like a core part of your brand identity, not just a random graphic.
Making Granular Adjustments for Consistency
Beyond just color, building a cohesive visual language across an entire icon set is what makes a user interface feel professional. One of the most common issues I see is inconsistent line weight, or stroke thickness. The AI might generate a "settings gear" icon with a 2px stroke and a "user profile" icon with a 3px stroke.
On their own, they look fine. But together, that subtle difference can make the whole design feel a bit chaotic.
A proper icon tool lets you get in there and standardize these details. You can manually set every icon’s stroke to a uniform 2px, which immediately brings a sense of harmony and professionalism to the entire set.
Here are a few of the key tweaks I always make:
- Color Matching: I always use exact HEX or RGB values to lock the icons into the brand palette.
- Stroke Weight Modification: Adjusting line thickness is non-negotiable for creating a visually unified set.
- Shape Tweaking: Sometimes you need to nudge vector points to get a curve just right or make a corner sharper.
- Element Removal: It's easy to delete any little stray details or artifacts the AI might have added.
The ability to fine-tune vector details is what separates a decent icon generator from a professional design tool. It puts you in the driver's seat, letting you take the AI’s creative spark and apply your own design standards to make sure every pixel is perfect.
This kind of detail work might seem intimidating, but modern tools have made it incredibly intuitive. Once you've made the big edits, a final pass to clean things up will ensure your icons are pixel-perfect and ready to go. For a more detailed walkthrough, check out our guide on how to perform a comprehensive icon clean up for truly professional results.
Getting Your Icons Ready for Any Platform
You’ve designed the perfect icon, but that’s only half the job done. The real test is how well it works in your actual project. Getting the export right is what separates a polished, professional design from one that just doesn’t quite fit.
The two main formats you’ll be dealing with are SVG and PNG, and knowing when to use each is key.
Think of SVG (Scalable Vector Graphics) as your default choice for anything on a screen. SVGs are basically code, not pixels, which means you can stretch or shrink them to any size imaginable without losing a single drop of quality. They’re a lifesaver for responsive websites and mobile apps where your icons need to look razor-sharp on everything from a tiny phone to a giant monitor.
Then you have PNG (Portable Network Graphics). These are your best bet when you need a fixed-size image with a transparent background. I often use high-res PNGs for things like social media posts, presentation slides, or even as favicons where a specific pixel dimension is required.
Your Export Game Plan
Once you're happy with your icons, you can usually download them one by one or as a complete set. A single download is great for a one-off task, but for larger projects, grabbing the whole collection at once is a huge time-saver. It keeps your naming and file settings consistent across the board.
A big part of this is finding the sweet spot between image quality and file size. Crisp visuals are great, but clunky, oversized files will drag your website or app’s performance down.
My pro tip? Always compress your icons before they go live. For web projects, I swear by tools like SVGOMG for vectors and TinyPNG for raster images. They can slash file sizes without you ever noticing a difference in quality, which makes a huge impact on load times.
The demand for great visuals is only getting bigger. The graphic design market is projected to hit USD 81.3 billion by 2030, largely because small businesses are finally investing in solid branding for their online presence. You can dig into more of the graphic design market trends if you're curious.
Getting your icons into your workflow is usually a breeze. With tools like Figma or Webflow, it’s often as simple as dragging and dropping the file right into your canvas. If you’re a developer, many icon creators even provide clean code snippets you can copy and paste.
For more resources, check out our guide on where you can download free SVG icons.
Advanced Techniques for Professional Results
Once you've got the hang of basic prompts, it's time to start thinking like a director and really take control of the AI. Some of the most effective tricks are surprisingly simple but make a world of difference.
Let's start with negative keywords. Say you're generating icons but the AI keeps adding a pesky drop shadow you don't want. Instead of trying to rephrase your prompt over and over, you can just tell it what to avoid. Adding --no shadow to your prompt gives a clear, direct command, resulting in cleaner and more focused designs. It's a game-changer.
Another powerful technique is creating a cohesive icon family. You know that feeling when you finally generate an icon with the perfect style? Don't let it be a one-off. Grab its unique seed number. By referencing this number in your next prompts, you're telling the AI, "Hey, I want more like this one." This is how you build out a full set of icons that look like they belong together.
Creating Icon Variations for UI States
For anyone working on UI/UX, creating icons for different interface states is a must. This is where a methodical approach really pays off. Think about building your icons in layers, one state at a time.
- Active State: Start by generating your main icon. For example,
bold line art icon of a home. - Hover State: Next, make a small tweak to your prompt to create the hover effect. Something like
bold line art icon of a home, filledusually does the trick. - Disabled State: Finally, adjust the prompt for a muted or disabled look, such as
light gray line art icon of a home, faded.
Working this way ensures all your variations are perfectly aligned and visually consistent.
These kinds of skills are becoming more and more essential, especially within the creator economy—a market that ballooned to over USD 205 billion in 2024. If you're interested in the details, you can check out the full report on the creator economy's impressive growth.
Got Questions About AI Icon Creators?
It's natural to have a few questions when you're jumping into any new design tool. I've found that getting a handle on a couple of key areas—specifically commercial use and design consistency—can make all the difference. Let's clear those up.
First up, the big one: can you legally use AI-generated icons for your business?
The short answer is yes. A quality icon image creator like VibeIcons will give you a full commercial license for every icon you create. That means you're cleared to use them in your app, on your website, in marketing campaigns—anywhere you need them. I always recommend a quick glance at the terms of service, just as a matter of good practice.
Another thing I hear a lot is concern about keeping the style uniform across a whole set of icons. It's a valid point.
How Can I Make Sure My AI Icons Look Consistent?
Getting a cohesive look is non-negotiable for a professional project. The trick I've learned is to build a solid "master prompt" that you use as the blueprint for every single icon. Think of it as your style guide for the AI.
Start by nailing down the core visual attributes.
- Nail the Style: Are you going for a "flat illustration" look? Or maybe something with "bold outlines" and "rounded corners"? Use the same descriptive terms every time.
- Lock Down Your Colors: Don't just say "blue." Use the exact HEX codes from your brand's palette to get a perfect match every single time.
- Define the Details: Think about other small but crucial elements. Do you want a consistent perspective? A specific line weight? Add that to your prompt.
Once you have this base prompt, you just swap out the subject—say, changing "user profile" to "settings gear." Everything else stays the same. This little bit of prep work is what ensures every icon looks like it belongs to the same family, giving your project that polished, intentionally designed feel.
Ready to create stunning, consistent icons in minutes? Try VibeIcons today and generate your first five icons for free at https://www.vibe-icons.com.